
To be able to knit any pattern, you first need to knit a gauge swatch. Why?
All patterns call for a certain gauge to work. You therefor knit a swatch to see how your yarn will look and behave on the finished garment. Even if you are using the same yarn an needle size as the designer you can end up with a different gauge since everyone is different. Different needle materials can also effect your gauge.
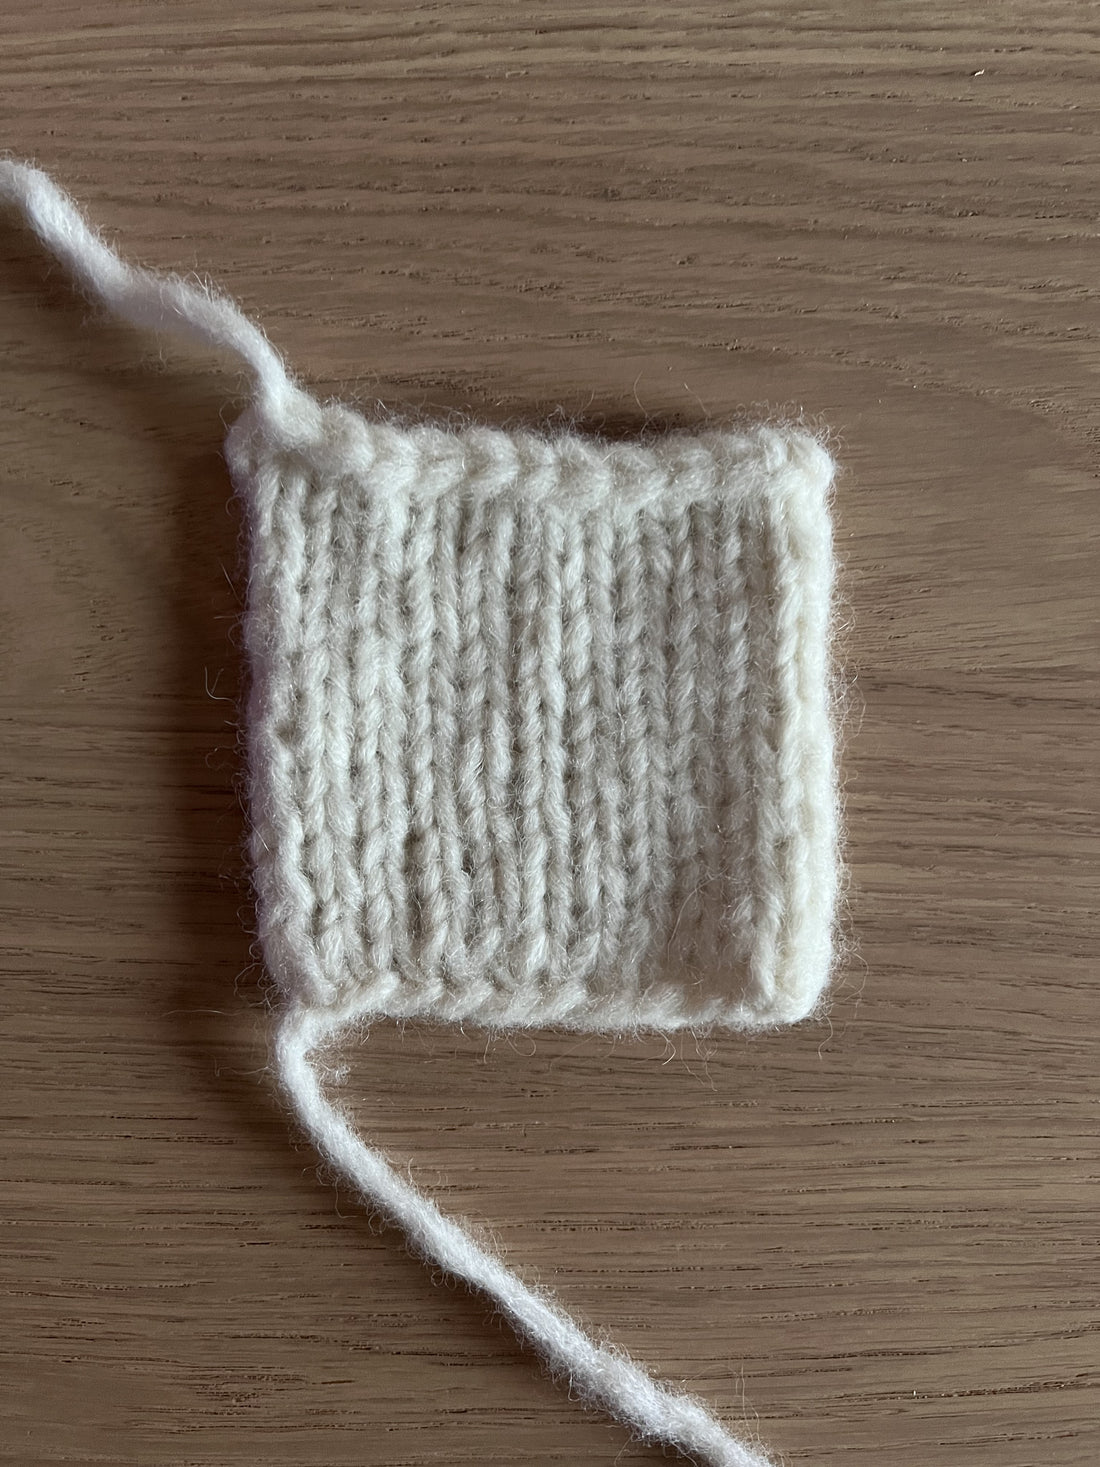
Example of a gauge swatch I made
- Cast on x number of stitches with your yarn and the needle you plan to use. Your gauge swatch should be slightly larger than 10 x 10 cm/4” x 4”. To know approximately how many stitches you need to cast on, you can look at the yarn manufacturer's recommendation for the yarn. It can usually be found the label or on the manufacturer's website.
-
Knit your swatch.
How I do it: https://youtu.be/q5Q6_AVyf1U
-
Wash the swatch and let it dry. Why?
I can not stress this enough, just do it! Depending on the yarn, the gauge may change slightly after washing. If the gauge changes you will usually get less stitches per 10 cm/4”. If your gauge “grow” and you din’t knit it you can end up with a garment that is ill fitting and much bigger then anticipated.
-
Count how many stitches you have on 10 cm/4” and write down your number, this is your stitch gauge. Some patterns require you to have the correct number of stitches on the height as well, called rows. Count how many rows you knitted over your 10 cm/4”.
-
Now you know your gauge. If you have to many stitches compared to the pattern instructions go up a needle size and try again. If you don’t have enough stitches go down a size.
Hope this short beginners gudie on how to knit a gauge swatch helped you and that your finished garment will turn out as you imagined.